Feature
Trackside Performance Analysis: Bahrain’s Turn 11

Share
To understand the subtleties of car performance and driver technique, there’s no substitute for standing trackside and watching (and listening to) the protagonists at work. It’s there on the ground, metres from the action in a single location, that uniquely different behaviours and approaches become apparent – much more so than on TV. For FP1 in Bahrain, Mark Hughes visited Turn 11 – a single corner that can tell us so much in a snapshot…
Bahrain’s long Turn 11 is in turns a technically fascinating, competitively frustrating corner of contrasting demands. It goes on way longer than looks apparent on-screen, which also tends to flatten its uphill contours. It’s a corner in two parts, the first dominated by how much speed can be carried into the turn and out to the exit kerb, by which time the track is already climbing steeply and the camber is aiding you, giving the car something more to lean into.
Entry understeer is the enemy here as it can limit the car to an entry speed lower than it would easily have the grip to deal with a second or so later, as the camber comes to your aid. If this first part of the corner is all about handling balance and lateral load, in the second part – hanging on, wall-of-death-style, all the way around that outside kerb before then turning further left - the demand switches to a combination of acceleration and lateral load.
The better the car is in the first part and the less momentum lost, the less is demanded of it in the second part. So an understeer-y balance here effectively is punished twice. The corner’s length and its combined lateral and longitudinal loads means it’s a right-rear tyre killer too, especially on a track temperature of 42-degree Celsius as in the first practice session.
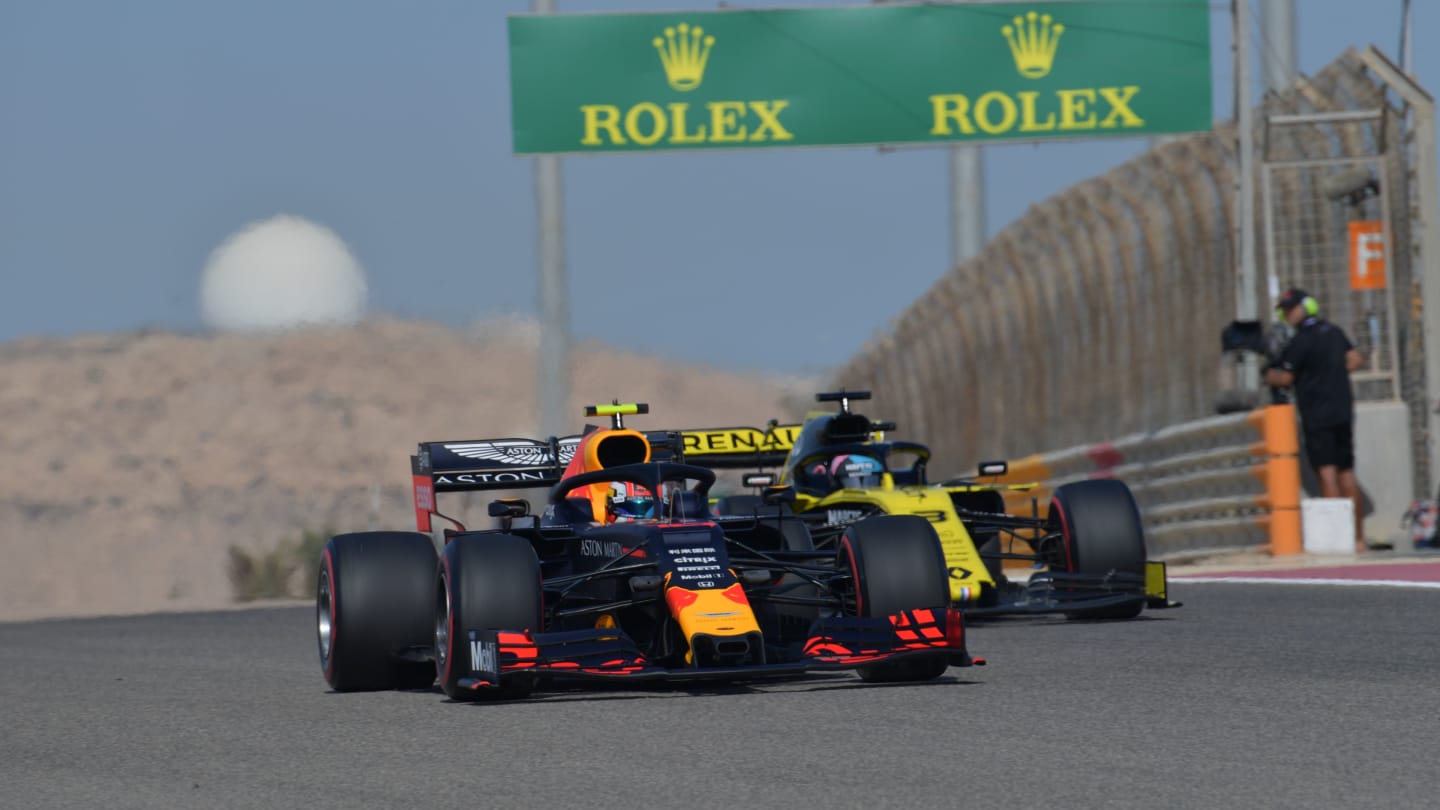
The front end on the Red Bull allowed Gasly and Verstappen to carry more speed through the apex at Turn 11 than the likes of Ricciardo
Just to add to the drivers’ challenge, the corner is approached from a DRS zone, the flap shutting as they stand on the brakes. The re-attachment of rear downforce, however, can sometimes take an unnerving few milliseconds - especially if there’s a tailwind, like there was on Friday afternoon. The desert heat is so dry there’s none of the visible wing tip vortices that featured so prominently in Melbourne.
From visual observation it’s a Red Bull corner, the RB15 carrying a huge momentum thanks to a strong front end, with both Max Verstappen and Pierre Gasly going through there in one, long graceful flow. And the data in our video backs this up too, with the duo - though around a tenth of a second apart in terms of braking - clocking the fastest apex speeds.
At the opposite end of the scale, the Williams’ initial understeer loses it so much speed that the rest of the corner is easy – but consequently slow. As our video shows, Kubica was 19 km/h slower at the apex than the Red Bulls.
The McLaren drivers are also limited by an understeer balance here, though not to anything like the same debilitating degree. Carlos Sainz and Lando Norris don’t deal with it in the same way, however. Norris is very reluctant to surrender his entry speed, fights it all the way in, running it right up to the limit of the exit kerb, then usually suffering a twitch of oversteer as he gets on the power for the second part of the turn.
Sainz, by contrast, uses some entry kerb before turning in – the McLaren actually running its right-hand wheel partly over the kerb so as to widen the approach angle. It seemed to be working in that his passage through the turn looked smoother. But both McLarens were hanging on for dear life at the exit kerb at a point where the Red Bulls were changing up a gear.
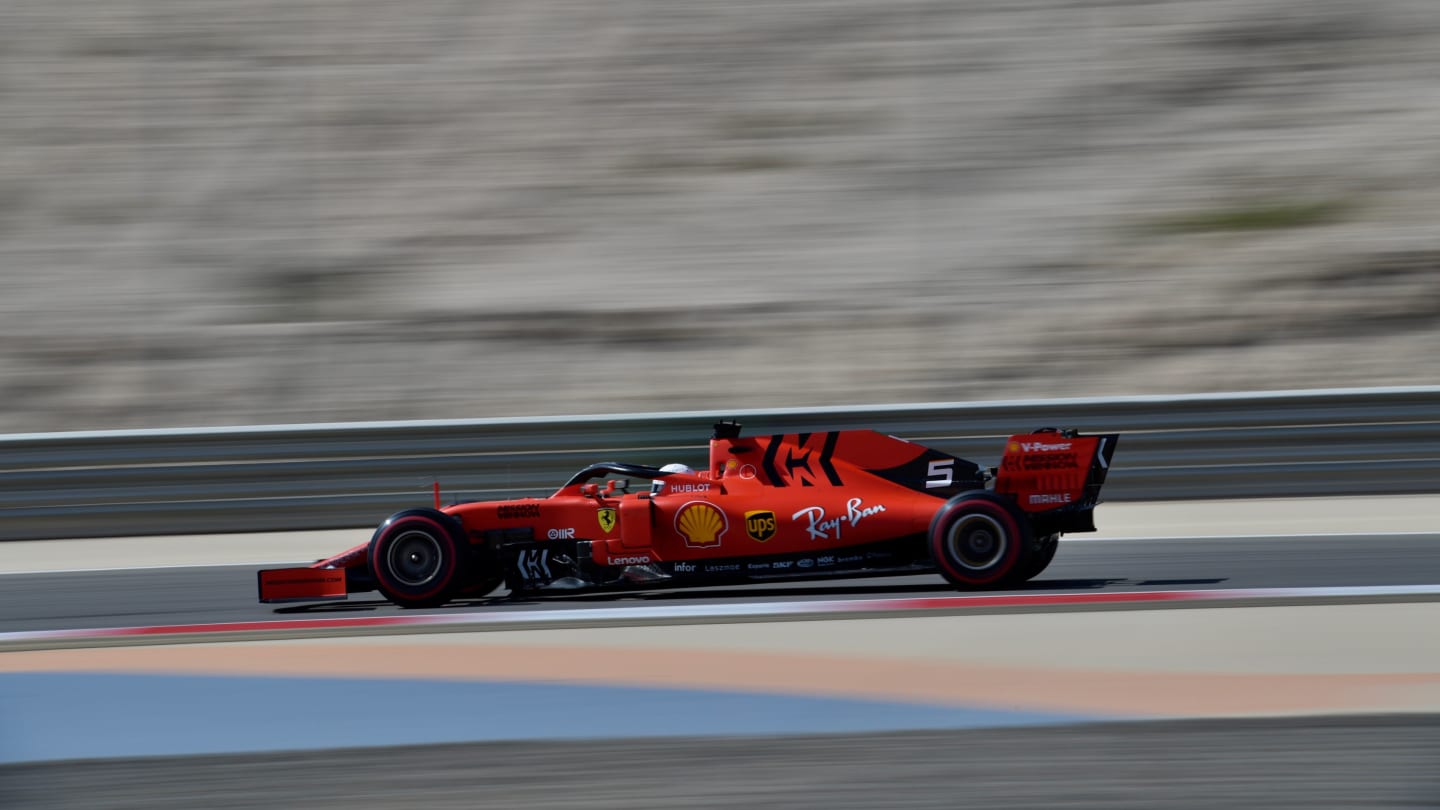
Vettel braked later than anyone else into Turn 11 during FP1, but was still able to carry good apex speed through the left hander
The Ferrari didn’t look quite as alert into the corner as the Red Bull but it’s a match for anything else, a nice-looking combination of grip and driveability. Interestingly, as you can see in the video, Vettel braked later than anyone else, while Verstappen braked a smidgen earlier, but was able to get on the power quicker to achieve a higher apex speed.
Valtteri Bottas’s Mercedes, which was a whisker faster at the apex than the Ferrari according to our data, was similarly uneventful in appearance but appeared to have more torque to punch it up the hill in the second part of the turn.
At one point Bottas was following Antonio Giovinazzi’s Alfa Romeo and needed around a metre less track width to follow through at the Alfa’s pace. Kimi Raikkonen’s sister car, meanwhile, twitched nervously on the corner approach as the DRS re-attached, which is always going to affect speed.
Daniel Ricciardo’s Renault gave him a more complex time than the Mercedes and Ferrari drivers enjoyed, but he managed to maintain good momentum despite a bit of shallow understeer all the way up to that first apex kerb. Only little twitches right at the end as he stood on the gas betrayed him and let the valuable milliseconds escape.
Of course, there is much more to going quick in Bahrain than getting Turn 11 right. But this snapshot in time affords us insight into the relative merits of the 2019 grid.
YOU MIGHT ALSO LIKE
Poll VOTE: Which team has the best driver line-up for 2025?
News Stella explains whether McLaren will change approach if Norris and Piastri fight each other for the title in 2025
News REVEALED: The best driver line-up for the 2025 season as voted for by you
Feature 5 things to be excited about as F1 gears up for the 2025 season
)
